
Einleitung
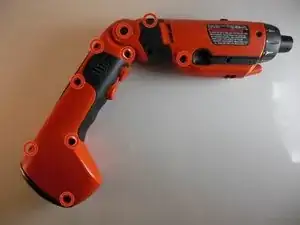
If the LED light in the drill no longer turns on, you can use this guide to easily replace it with a new one.
Werkzeuge
Ersatzteile
-
-
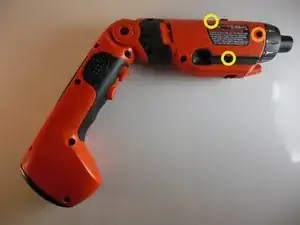
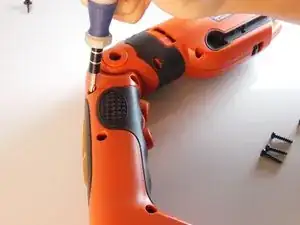
Remove the nine 15mm Philips #1 screws
-
Remove the two 12.5mm Philips #1 screws
-
Remove the two 10mm Philips #1 screws
-
-
-
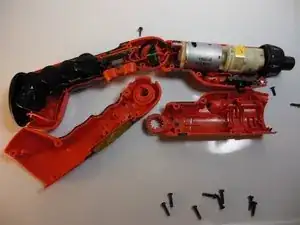
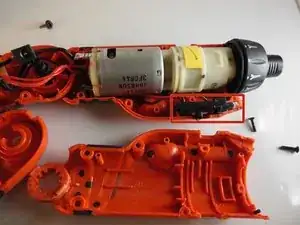
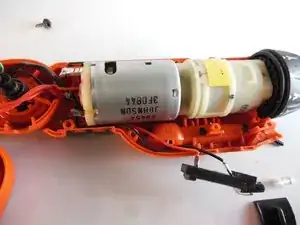
Lift one side of the drill casing off of the drill. Note that the drill casing consists of two pieces on either side of the drill.
-
-
-
In order to replace the small LED light look below the motor at the front of the drill to find a black plastic piece with two very skinny wires emanating from it.
-
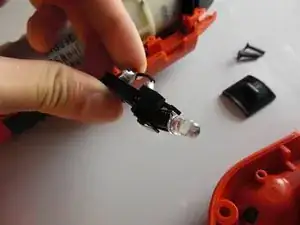
The black plastic piece is the housing. The light is placed inside this black plastic housing.
-
-
-
The light itself can be easily removed from the black plastic piece by simply pulling it out.
-
-
-
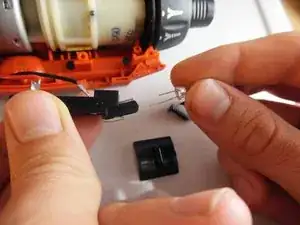
Take your new LED and slide it back into the plastic housing in the same orientation as the old LED.
-
To reassemble your device, follow these instructions in reverse order.