Einleitung
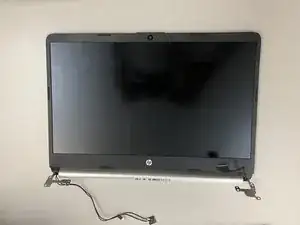
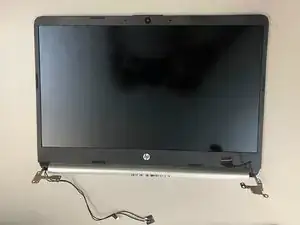
In this guide, you will learn how to remove a HP 14-fq1025nr screen and replace it with a new one. The screen is used to display/output visual information such as a desktop, a document, or an application so that it can be seen by the user(s). A faulty screen may result in a large area of dead pixels (a pixel is a minute area of illumination on a screen) or a completely dead screen. For additional information and help with troubleshooting the screen, refer to our troubleshooting page.
Werkzeuge
-
-
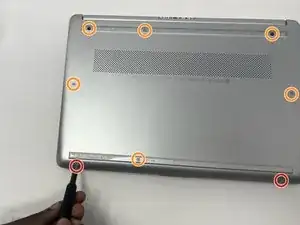
Remove the two 4 mm screws using a Phillips #0 screwdriver.
-
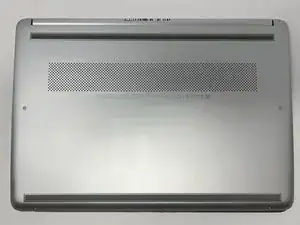
Remove the six remaining 6 mm screws located around the edges and underneath the feet using a Phillips #0 screwdriver.
-
-
-
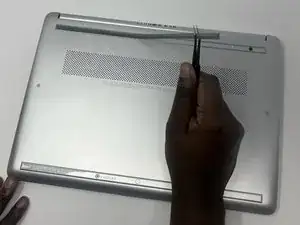
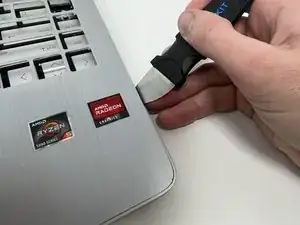
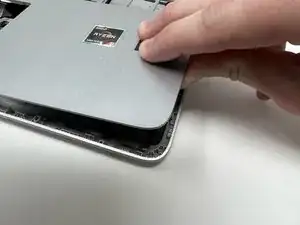
Flip the laptop right-side up and slide an iFixit opening tool and/or Jimmy inside of the bottom cover seam to pry it open.
-
-
-
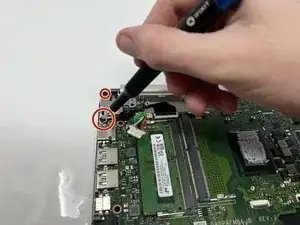
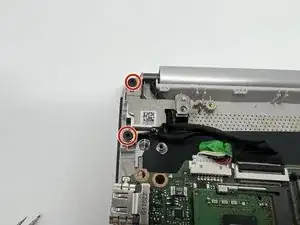
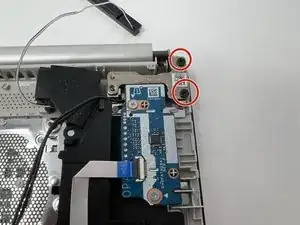
Remove the four black 5 mm screws holding down the two silver screen hinges using a Phillips #00 screwdriver.
-
-
-
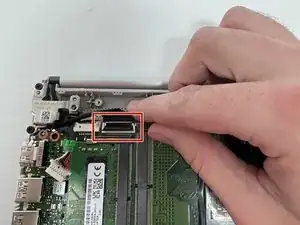
Unplug the screen from the motherboard by lifting the wire cover and removing the screen cord.
-
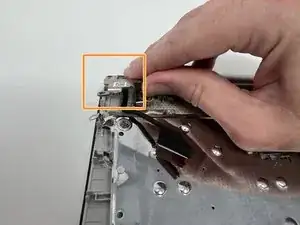
Separate the hinges from the computer.
-
To reassemble your device, follow these instructions in reverse order.
