Einleitung
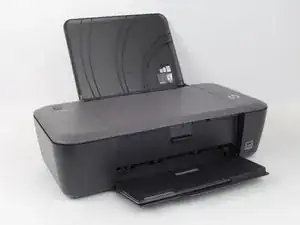
These steps must be followed before replacing any internal parts in the HP Deskjet 1000 J110a. Don't forget to keep track of the screws.
Werkzeuge
-
-
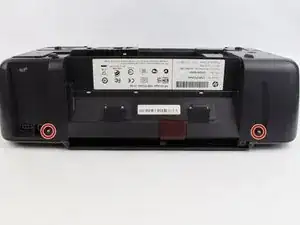
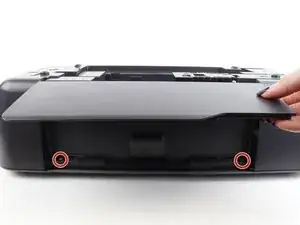
Remove the two 13 mm screws located on the back of the printer using a screwdriver with the T10 torx bit (star-shaped).
-
-
-
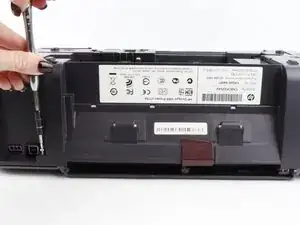
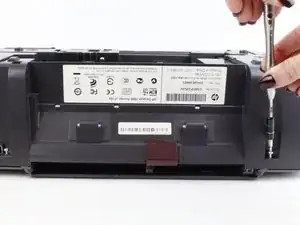
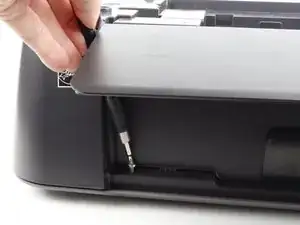
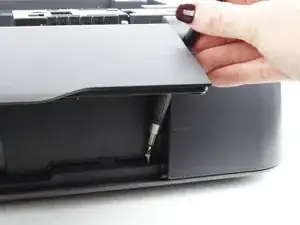
In the front of the printer, open the tray where the paper comes out and remove the two 13 mm screws located under the top of the printer.
-
-
-
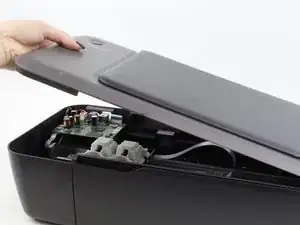
With the front of the printer facing you, lift and raise the left side of the panel (like opening a book in reverse) until it disconnects from the clip on the right side of the panel.
-
To reassemble your device, follow these instructions in reverse order.
2 Kommentare
Very intuitive, good instructions. Highly recommended.
Thank you very much for the instructions on removing the cover to the HP 1200 Deskjet. It allowed me to removed a part that fell into the printer and prevented the paper from advancing.