Einleitung
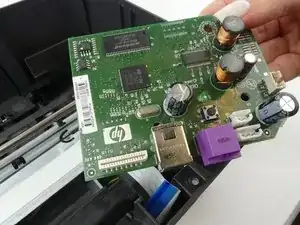
The plug ports are soldered onto the circuit board, so this is more of a circuit board replacement. Be careful when handling electronic circuit boards to avoid damaging the components and to avoid electric shock.
Werkzeuge
-
-
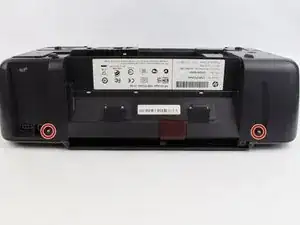
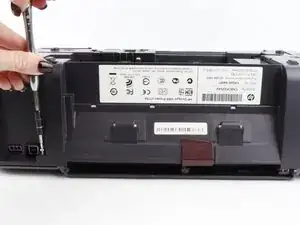
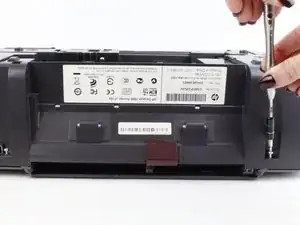
Remove the two 13 mm screws located on the back of the printer using a screwdriver with the T10 torx bit (star-shaped).
-
-
-
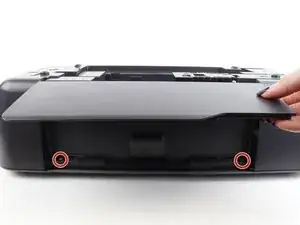
In the front of the printer, open the tray where the paper comes out and remove the two 13 mm screws located under the top of the printer.
-
-
-
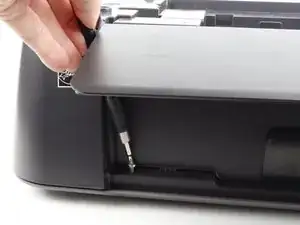
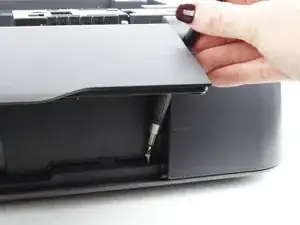
With the front of the printer facing you, lift and raise the left side of the panel (like opening a book in reverse) until it disconnects from the clip on the right side of the panel.
-
-
-
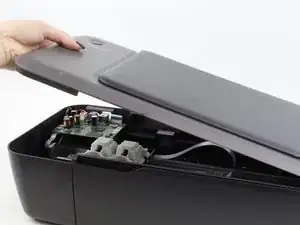
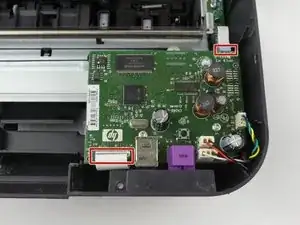
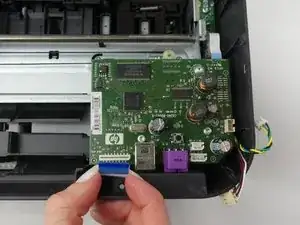
Locate and remove the two flat ribbon connectors which connect the circuit board to the other printer components.
-
-
-
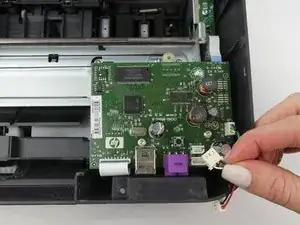
Locate and remove the three multicolored wire connectors which connect the circuit board to the other printer components.
-
-
-
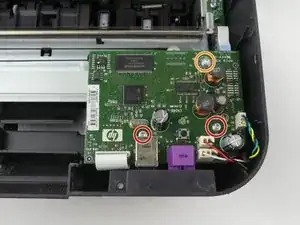
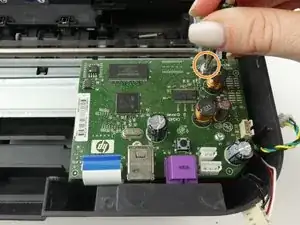
Remove the top two 13mm screws using a screwdriver with the T10 torx bit.
-
Remove the bottom 9mm screw using a screwdriver with the T10 torx bit, and remove the plug port circuit board.
-


To reassemble your device, follow these instructions in reverse order.