Einleitung
In this guide, you will learn how to remove and replace the speakers in your HP Pavilion 15-p214dx laptop. To do this, you will need a Philips #0 screwdriver, a plastic opening tool, and a flathead screwdriver. Be careful when handling the computer’s motherboard, since it is one of the most important parts and damaging it can cause further problems.
-
-
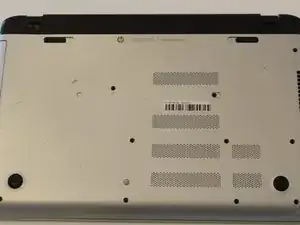
Place your laptop on a flat surface with the bottom facing upwards. The HP logo should be facing downwards.
-
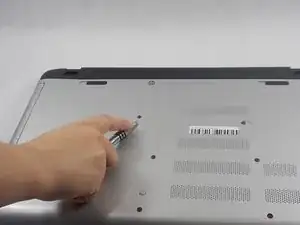
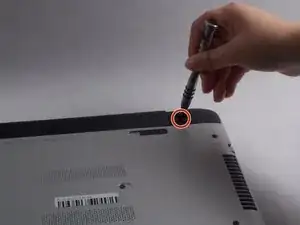
Locate the disk drive screw. It is a 7mm screw that can be found to the upper left on label on the bottom of the computer and is marked with a disk drive symbol.
-
Remove this screw using a Philips #0 screwdriver.
-
-
-
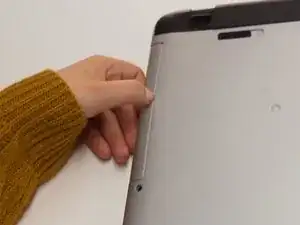
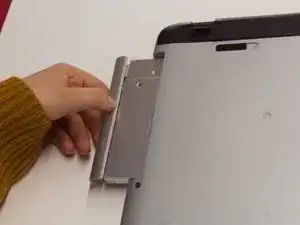
Place your thumbnail between the disk drive exterior and your laptop's bottom cover.
-
Pull outwards to slide the disk drive out of its slot.
-
-
-
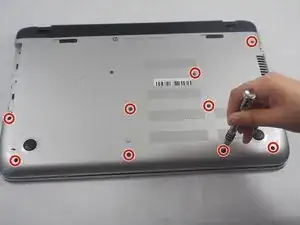
Using a magnetic screwdriver with a Philips #0 head, remove all of the visible screws on your laptop's bottom face. These screws are all about 7.5mm long.
-
-
-
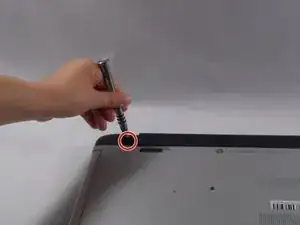
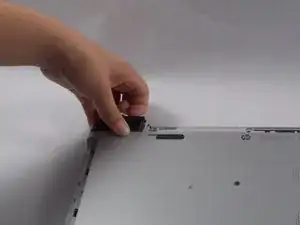
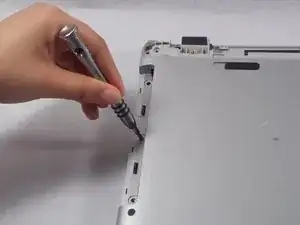
Remove the 5.5mm screws holding the computer's end caps in place. The end caps are located to the left and right of the battery.
-
-
-
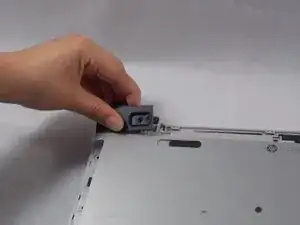
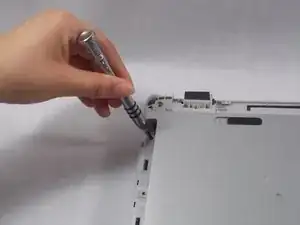
Lift both end caps from their respective corners.
-
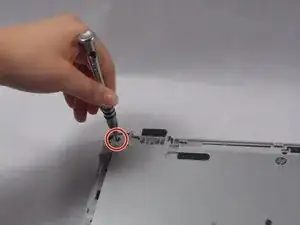
Use a Philips #0 screwdriver to remove the 4.3mm screw that is underneath both end caps.
-
-
-
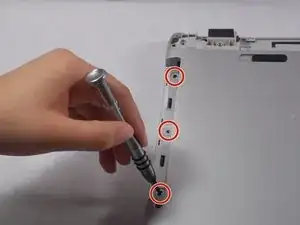
Use a Philips #0 screwdriver to remove the three 5.5mm screws in on the edge of the disk drive slot.
-
-
-
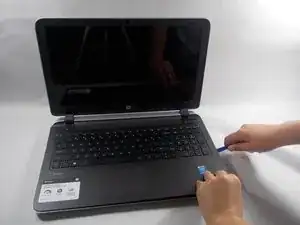
Flip your computer so that the bottom is now on the surface. Open the laptop like you normally would if you were about to use it.
-
Use a plastic opening tool to separate the top cover from the bottom cover.
-
-
-
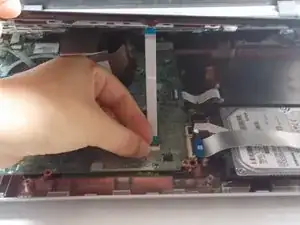
While lifting the top cover, undo the clip holding the keyboard cable in place.
-
Slide the cable out of its port.
-
-
-
Undo the clip holding the touchpad cable in place.
-
Remove the touchpad cable from its port.
-
-
-
Undo the clip holding the power button cable in place.
-
Disconnect the power button cable from its port.
-
Gently lift the top cover to remove it from the computer.
-
-
-
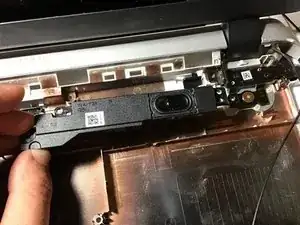
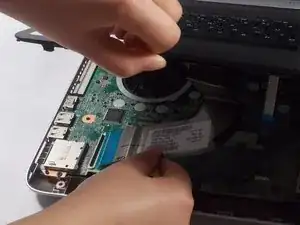
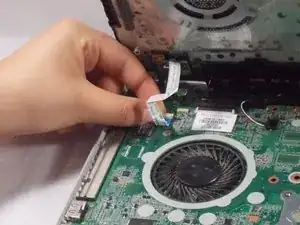
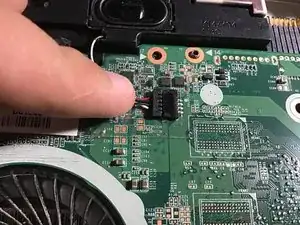
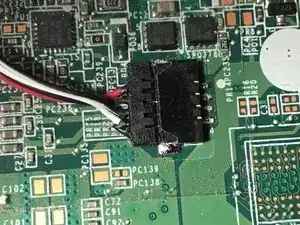
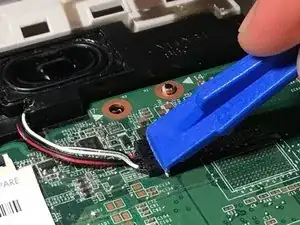
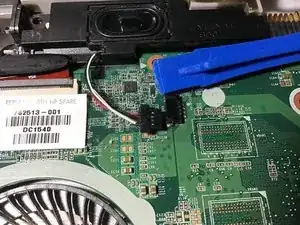
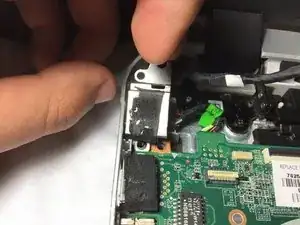
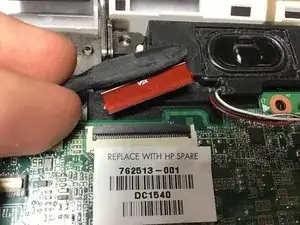
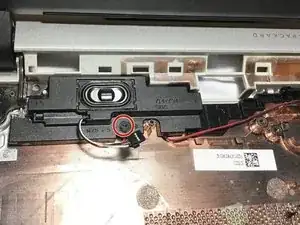
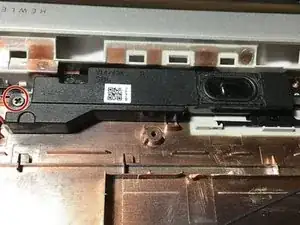
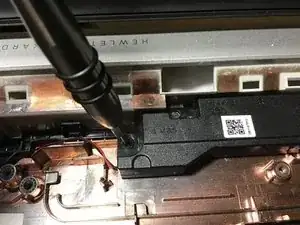
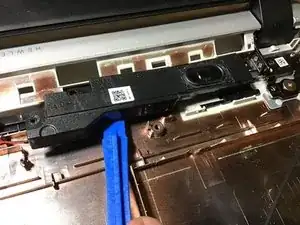
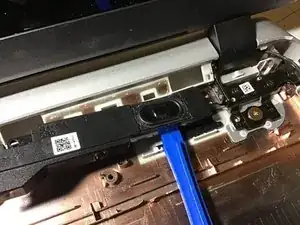
Use a plastic opening tool to separate the speaker's cable from the mother board, by pushing on the speaker's plugged cable
-
-
-
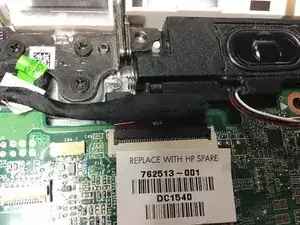
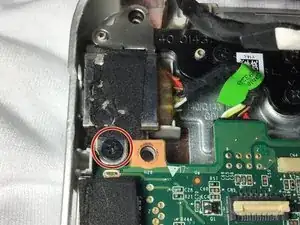
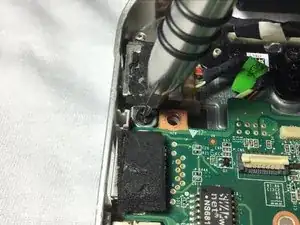
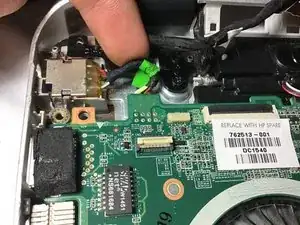
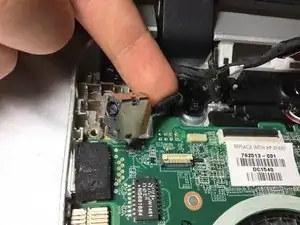
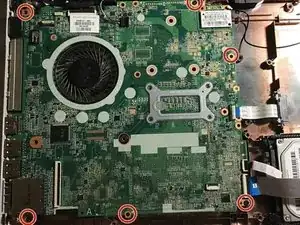
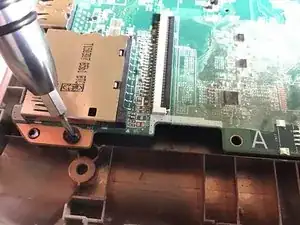
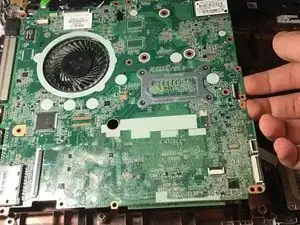
Dismount the power supply cable holding the motherboard, by removing the 5.5 mm screws shown in the first picture on the right, using a Philips #0 screwdriver to remove the screws.
-
-
-
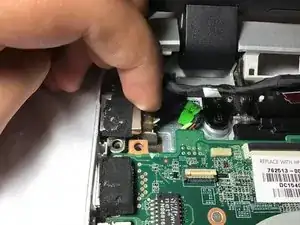
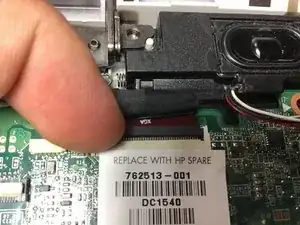
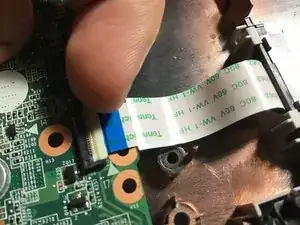
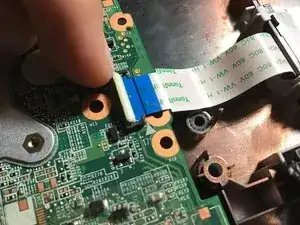
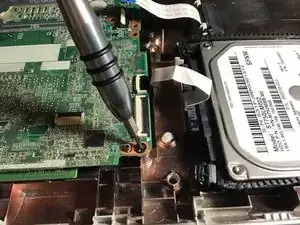
Disconnect the disc drive cable by undoing the clip.
-
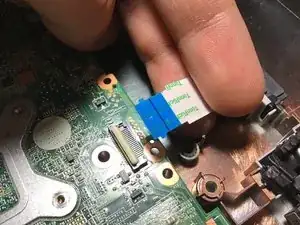
Repeat the same step for the the hard drive cable.
-
-
-
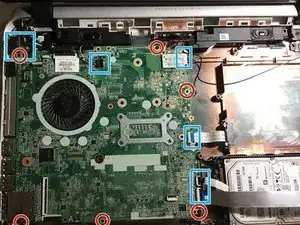
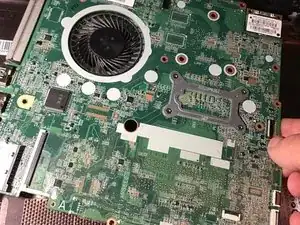
Remove the 7mm screws holding the computer's motherboard in place.
-
Using a magnetic screwdriver with a Philips #0 head, remove all of the visible screws on your laptop's motherboard corners.
-
-
-
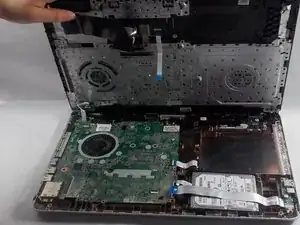
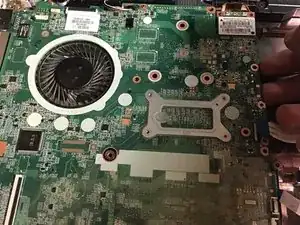
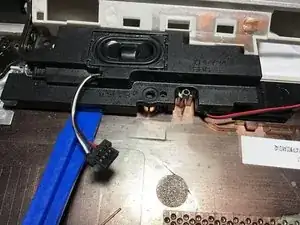
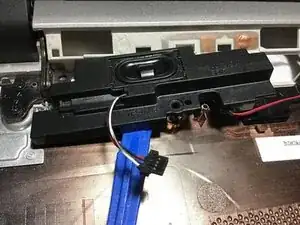
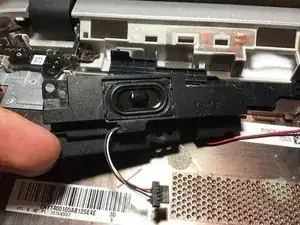
After the motherboard is dismounted and all the cable are disconnected, remove the motherboard from the device.
-


To reassemble your device, follow these instructions in reverse order.