
Einleitung
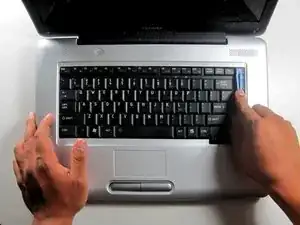
Before starting any removal or installation, remember to turn off the device and to remove it from the power source.
-
-
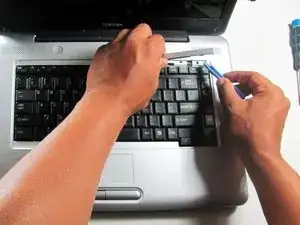
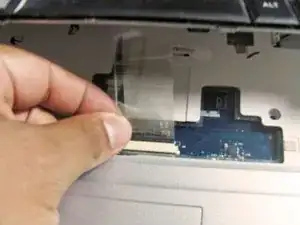
Use the flat edge of the plastic opening tool to pry open the narrow plastic strip above the keyboard.
-
-
-
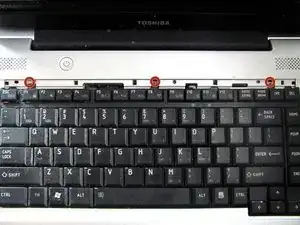
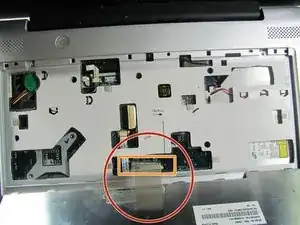
Disconnect the keyboard cable that is still attached to the keyboard.
-
Unlatch the fastener.
-
Using your hands, pull the keyboard connector out, not up.
-
-
-
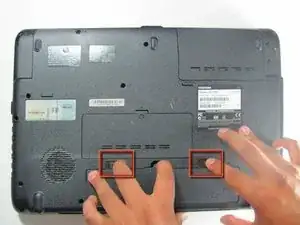
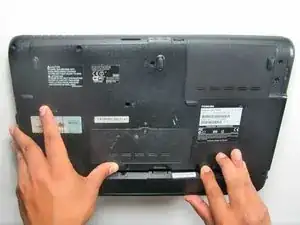
Flip the laptop over to access the battery.
-
Remove the battery by sliding fingers away from each other and lifting up the tab at the same time.
-
-
-
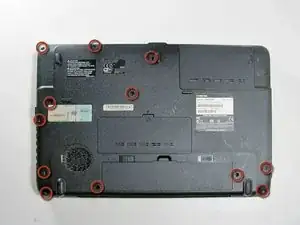
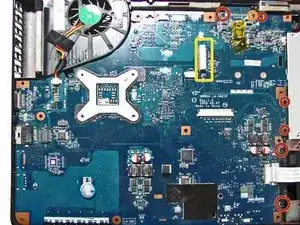
Remove the twelve 10mm screws with a Phillips #00 screwdriver.
-
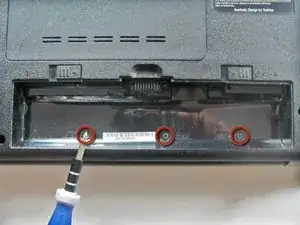
Remove the cover over the hard drive (upper right in photo) and remove the four 10mm screws at the four corners.
-
-
-
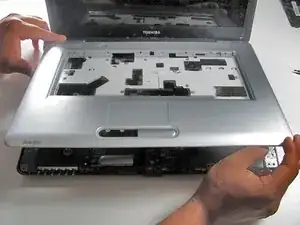
Flip the laptop over so it's in the right-side-up position.
-
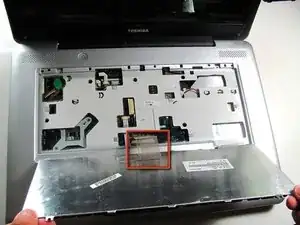
Lift the grey plastic casing up and unhook any wires attached to the casing.
-
Remove the five 10mm screws, each with a label 'F10' next to them.
-
-
-
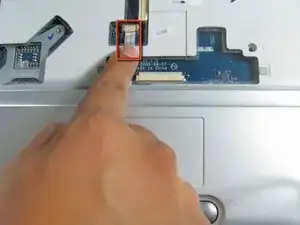
Disconnect the flat thin wire connecting the track pad to the motherboard by pulling it straight out.
-
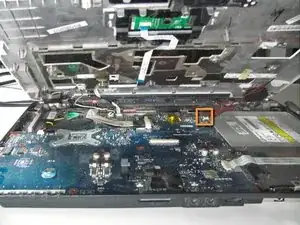
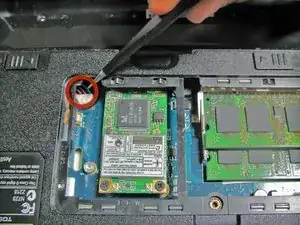
Disconnect the thin red wire on the right side of the motherboard.
-
-
-
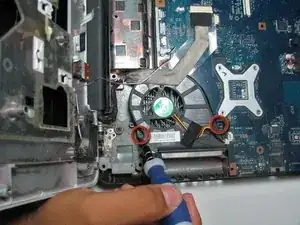
Disconnect the red and yellow wires connecting the fan to the motherboard by pulling the wires straight out.
-
Remove the fan.
-
-
-
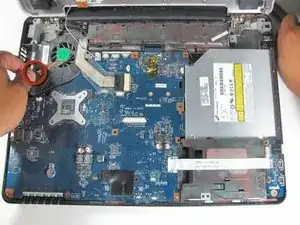
Remove the following with a Phillips #00 Screwdriver:
-
Six 7mm Phillips Head screws
-
One 5 mm Phillips Head screw
-
Remove the LCD screen tab
-
-
-
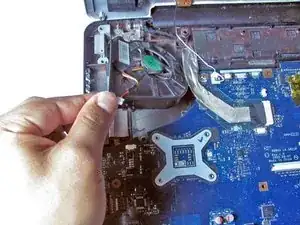
A red wire connects the motherboard to the computer, so release the wire by pulling it straight out.
-
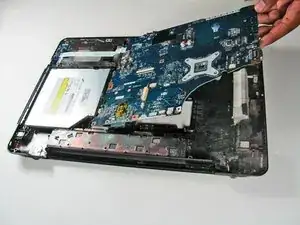
After all the screws are removed, lift the motherboard up and away from the earphone jacks that are located at the front of the laptop.
-
To reassemble your device, follow these instructions in reverse order.